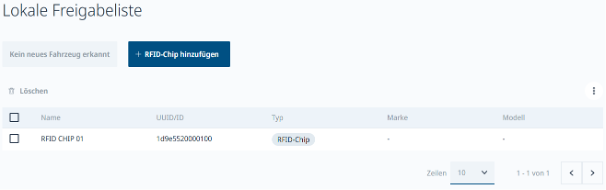
Enrolling RFID chips and maintaining the Approved list
For authorized charging, RFID chips and vehicles can be stored in the wallbox's local Approved list. This guide walks through enrolling and saving a new RFID chip step by step.
Add a new chip
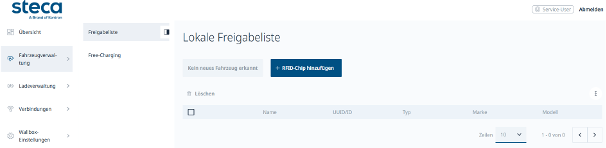
To add a new RFID chip, open "Vehicle Management → Approved list" and click "Add RFID chip".
Configure the chip
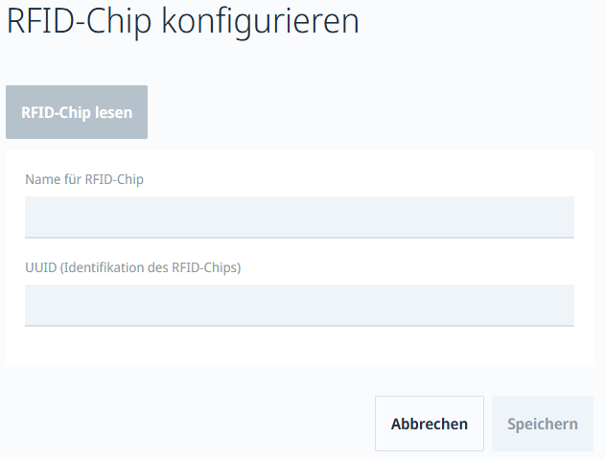
A configuration menu opens. Assign a name to the chip and enter its UUID. If the UUID is unknown, the chip can be read in at the next step.
Read the chip
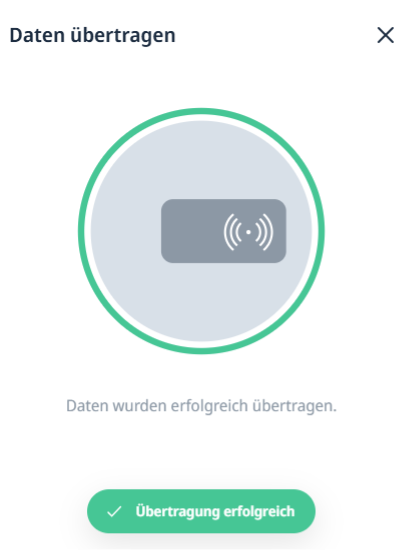
Click "Read RFID chip". The RFID reader on the wallbox flashes white. Hold the RFID chip against the reader at this point. An acoustic signal sounds as soon as the chip has been detected. On a successful read, the RFID reader lights up green.
Save
Close the confirmation by clicking the "X", then save. The chip is now stored in the local Approved list.